Are you frustrated with the low quality of your videos? Are your Reels not going viral due to poor video clarity? If yes, you’re in the right place!
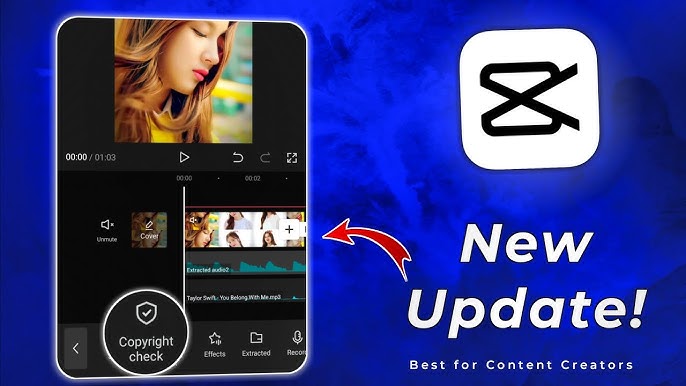
In this post, I’ll guide you step-by-step on how to convert your ordinary video into high-quality, eye-catching content using the CapCut App. Whether you’re a content creator, Instagram Reels enthusiast, or YouTuber, this method will take your video quality to the next level.
🔧 Tools You’ll Need
-
CapCut App (Free to download)
-
📥 Or join my Telegram Channel (for alternative download)
🎬 Step-by-Step Video Quality Enhancement Guide
✅ Step 1: Open Your Project in CapCut
-
Launch CapCut after installing.
-
Click on New Project and select the video you want to enhance.
-
Tap Next to proceed.
Pro Tip: Delete any unnecessary text layers like “CPK Title” from the timeline.
✨ Step 2: Apply Video Effects
-
Tap on Effects > Video Effects.
-
Navigate to the Lens folder.
-
Choose Smart Sharpen (2nd option).
-
This slightly increases sharpness but may alter colors.
-
🎨 Step 3: Adjust Color Settings
-
Tap on Adjust:
-
Sharpen: Set around 50
-
Range: Set between 30–40
-
Filter: Set to 0 or 20 (if you prefer less black)
-
Blur: Set to 0 (completely remove)
-
-
Duplicate the clip to maintain effect consistency.
-
On the duplicate:
-
Lower Sharpen to 10
-
Adjust Range to 60–80
-
Reduce Filter to 10
-
🧩 Step 4: Add Cinematic Glitch
-
Go to Effects > Video Effects > Glitch Folder.
-
Select the Cinematic effect.
-
Set both Speed and Intensity to 0 under Adjust.
This adds a professional touch without distracting from your content.
🎭 Bonus Trick: Brighten Your Face
If your face looks dark:
-
Use Overlay > Photo > Add a white background image.
-
Stretch it to fill the screen.
-
Go to Blend Mode and select Soft.
-
Set Intensity around 60 to make your face look brighter naturally.
⚙️ Final Adjustments Using Adjust Tool
-
Saturation: +30
-
Balance: -30
-
Contrast: +15
-
Brightness: +4
-
Sharpen: 50
-
Clarity: +40
-
Highlights: +10
-
Shadows: -10
-
Whites: +5
-
Blacks: -3
This fine-tuning helps balance the overall look of your video.
✂️ Trim Extra Clips
Use the Split tool to trim portions of the video that aren’t needed after applying effects. This makes the before/after comparison even more powerful.
🎥 Optional: Use High-Quality Filters
Go to the Filters tab:
-
Use 4K or 8K filters (available for download)
-
Apply the one that suits your video best
-
Adjust intensity as needed (100 is recommended)
📤 Export Settings for Best Quality
When you’re ready to export:
-
Tap on the Export (AI) button
-
Set the Resolution to 4K
-
Set Frame Rate to 60 FPS
-
Set Bitrate to High
This ensures your final output is in top-notch quality.
🔗 Learn more about video resolution and frame rate here:
✅ Final Thoughts
By following this tutorial, you can drastically increase your video quality using just your phone and CapCut. This is a perfect trick if you want your Reels to stand out, your YouTube videos to look cinematic, or your content to appear more professional — all without expensive gear.